emelton.com
Recipes
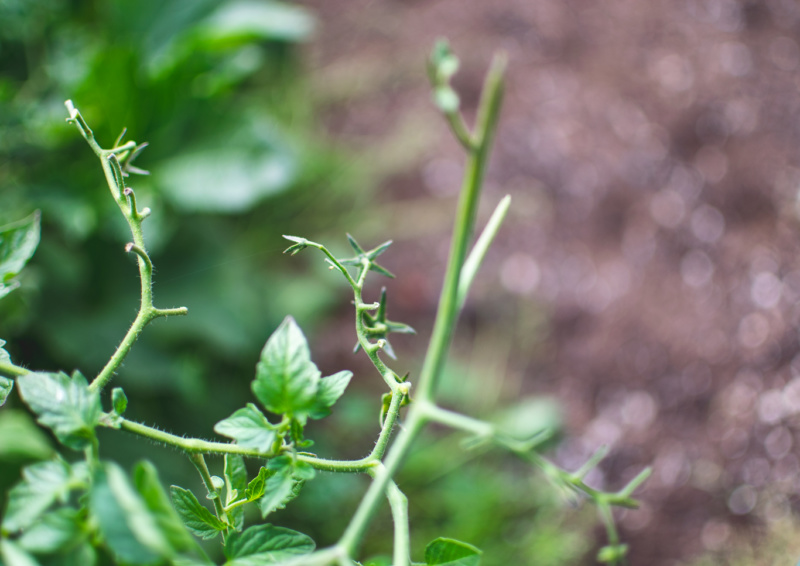
XL vermin
Before planting the garden in the hot tub, on the deck, last spring:
Me: “What can we do to keep deer off the deck so they don’t eat all the plants?”
Captain OCD: “Deer aren’t going to go on the deck.”
“Sure they will. They’re all but domesticated. They aren’t afraid of anything anymore.”
“Deer are not going to go on the deck.”
“But”
“No way will deer ever walk up the steps to the deck.”
“Right, they’ll leap. They’re leapers. There’s a reason why a six-foot fence isn’t tall enough for a deer fence.”
“The deer will never go up on the deck.”
Today:
Captain OCD: “Did you pick all the tomatoes for the salad last night?”
Me: “I didn’t pick any tomatoes.”
“Huh. Looks like the deer got all the tomatoes.”
On the deck.

How to turn an old fire hydrant into a hose bib, part 1
Been wondering what to do with that extra fire hydrant cluttering up your dining room? Us, too, so we decided to turn it into a spigot at the beginning of the front steps. It will be the place where the car-washing hose is connected to the water supply by the garage.
Observe all the usual eye and respiratory-system precautions regarding protection. Given that it will probably be old paint, you can be reasonably sure there will be rust- and lead-laden bits flying about.
1. Find yourself a fire hydrant. This photo was taken after the hydrant was disassembled.

2. Tell the llamas to back off because there’s room enough for them and your hydrant-painting project.


How to turn an old fire hydrant into a hose bib, part 2
From here, we continue.
Most of the following took place within a few hours of dawn and, because I’m the documentarian and I don’t do dawn without a gun to my head, there is no photographic evidence of a few of these steps. Instead, I commissioned a diagram.
11. Dig a hole where you want your new hose bib to be. Helps if it’s near an existing water source. This one is just a few feet away from one of our existing hose bibs. A short while ago Captain OCD tapped into that line and ran another line from there under the driveway to the pasture so he could put a hose bib there, so he’d already located the pipe.
12. Set the base in the hole and level it.This one was suspended with a couple of scrap boards from the sidewalk to the rocks at the correct height (see photo below).
13. Find your water source and assemble a collection of whatever pipe and joints you need to make it work. Here’s how this one is set up. That’s architect printing, in case you didn’t recognize it: It’s lost some of its polish since Captain OCD learned it in college. His shopping lists take a lot of paper.

14. Mix up some Redi-Mix in your least favorite wheelbarrow and pour it into the hole and in the middle of the base. Smoosh it around so that it surrounds the base with no air pockets. This took another bag to adequately secure the base, which was added after the photo was taken. Make sure the vertical pipe is long enough to work with; you’ll be cutting it down to size later. Important: be sure you leave enough working room under the top collar to screw the nuts on to the bolts.

15. When the concrete has set, place the hydrant on the base and secure the bolts in the bottom. You’ll be working inside the hydrant from here on.

16. Assemble the pipes and joints to fit your configuration inside the hydrant.
17. Connect the bottom of the pipe assembly to your water source. You will first want to turn off the water.
18. Assemble the parts for the outside of the hydrant. The stort is the big cover on the side. You’ll have to drill a hole in the middle of it big enough for the nipple to go through (does all this anatomical talk make you uncomfortable?). You’ll use the washers to center the nipple in the hole while tightening the assembly from the inside to the outside. Captain OCD had to buy a new stort because he whacked the hell out of the old one to get it off because it was stuck. And now I’m wondering what sort of search strings will hit this post. Try to avoid the merciless whacking if at all possible – storts are expensive and turn your free fire hydrant into your expensive fire hydrant. It took some experimentation to get the Harrington top center because you have to assemble the fittings on both sides of the stort before you screw it on to the hydrant body.


It’s all right here
I give up on Googling for the best places to take photos in the county and go for a short walk instead.

So much no

St. Regis, Montana
